Insights - Starter Guide
This guide will assist you in becoming familiar with MAP's Insights analytic reporting suite.
This guide will assist you in becoming familiar with MAP's Insights analytic reporting suite.
Insights Report Set Up - App Selection Filter
The most important part of any Insights report run is the selection of the applications that you wish to return data for. Up to three (3) apps can be selected per report run, but at least one (1) app must be selected to run a report.
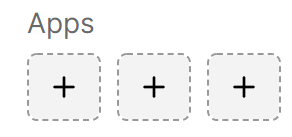
App filter with no selections made.
To select an app click on one of the App Selection boxes; each box represents an app that can return data in the report run. Once an of the App Selection box is clicked, an app selection pop up window will present itself. This window is the main app selection navigation area.
App AvailabilityOnly those apps that are enabled within the MAP Org being used will appear for selection in the window. To gain access to more or different apps, contact your Account Team for assistance.
At present there are 1,000+ apps available in App Insights, with more being added everyday.
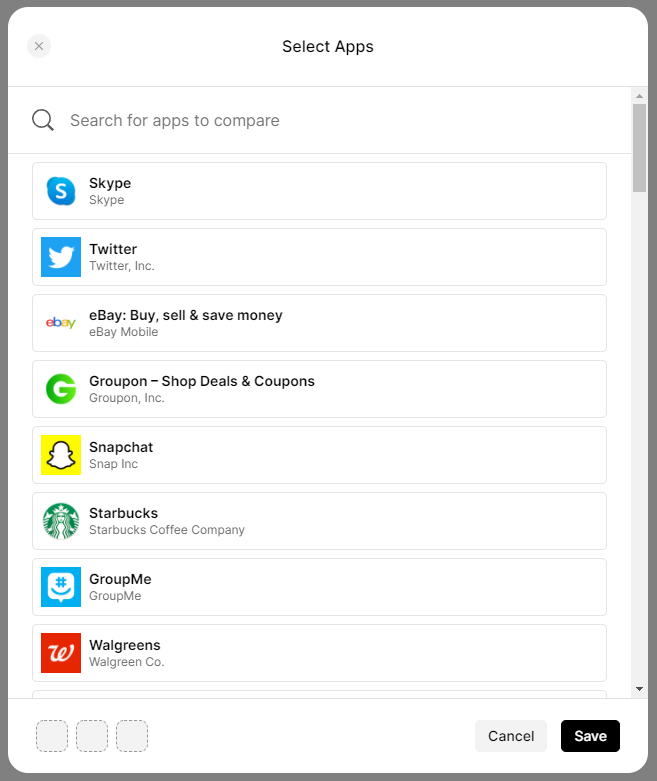
App selection pop up window.
Once in the app selection pop up window, there are two (2) ways to select which apps should be included in the report run:
- Search for an app.
- Scroll for an app.
Search for an App
Using the magnifying glass search bar, type in the name of an app that should be included in the report run. The app search functionality of Insights is predictive based on app name, and will return results instantly as letters are typed. The more complete the entry, the more refined the results will be.
App Search Best PracticesAt present, app search results are only based upon the external facing name of the app as it would appear in an app store. Searching for apps based upon their genre, business vertical, or other metadata will not return applicable results.
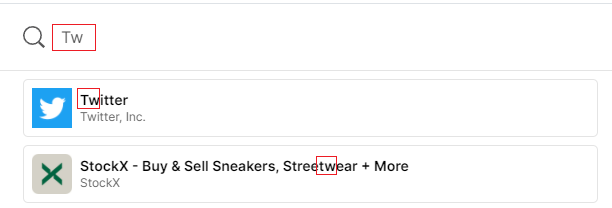
Predictive app search results.
Once the appropriate app appears, click on it to include it as one of the selected apps for the report run.

Twitter app is selected for inclusion in the report run.
Scroll for an App
Deleting any entered text in the search bar will reveal all available apps for selection again. Use the scroll bar to find apps of interest. When an app of interest is found, click on that app icon or name to include it as an app in the report run.
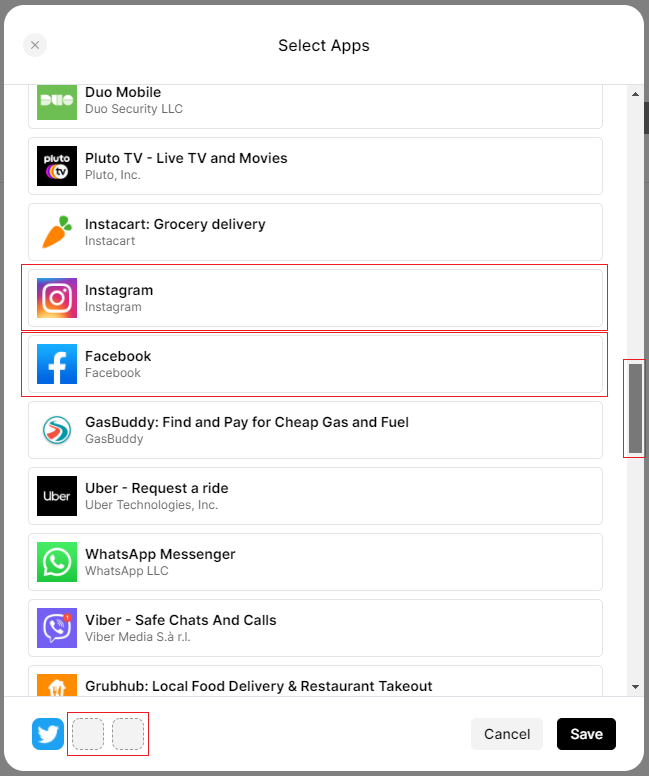
Example: Scroll to find, and select, both the Instagram and Facebook (Meta) apps to be included with Twitter in the report run.
To change an app when three apps are already selected, one or more of the currently selected apps must first be removed. To remove an app, click on that app's icon in the lower left hand corner of the app selection window. Once the app icon is clicked, the space will change back to an empty square, and a new app can be selected for that space.
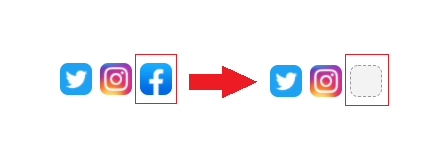
Removal of an app to enable the selection a different app in the app selection window.
Once one (1) to three (3) apps are selected for the report run, click the "Save" button to close the app selection pop up window.

Three (3) apps selected, and saved, for a report run.
Exiting the App Selection Modal WindowWhile in the app selection window, clicking either the top left "X", or the bottom right "Cancel", icon / button will close the app selection window without saving any app selections made or changed.
Insights Report Set Up - Segment Selection Filter
The Segment Selection Filter allows for additional data slicing by either:
All Devices
- Designated as "All"
Demographic Attributes
- Device Owner Age Range Bucket
- Device Owner Gender Bucket
MAP AppGraph Ownership Persona
- Behavioral Segments for "Interests & Activities"
- Behavioral Segments for "Life Stage"
- Behavioral Segments for "Intent"
This additional layer of data slicing allows a report to return data that is more accurately focused on a specific set of devices.
Segment filter with no selections made.
To select a segment click on the Segment filter. Once Segment selection filter is clicked, a segment selection pop up window will present itself. This window is the main segment selection navigation area.
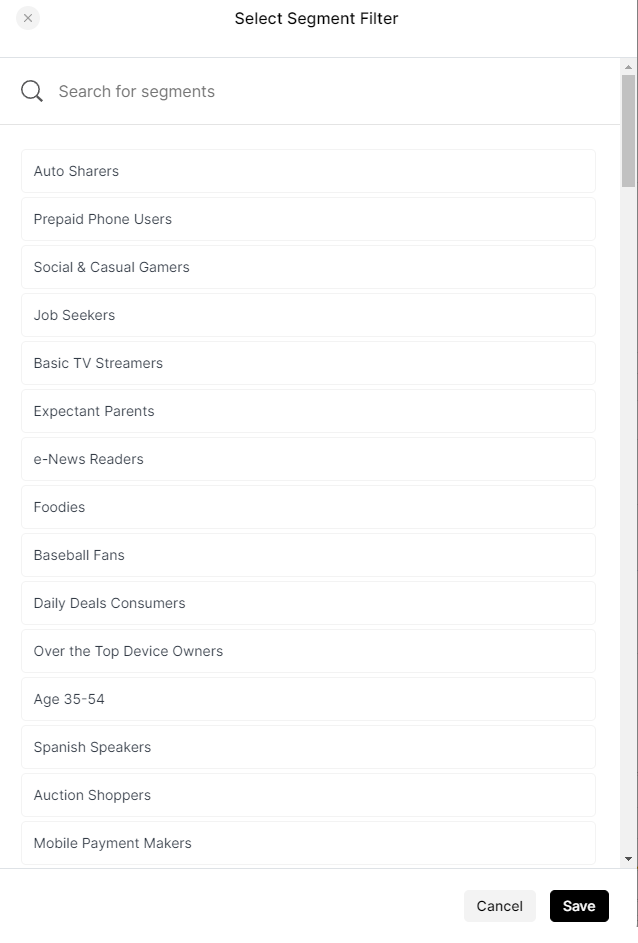
Segment selection pop up window.
Once in the segment selection pop up window, there are two (2) ways to select which segment should be included in the report run:
- Search for a segment.
- Scroll for a segment.
Search for a Segment
Using the magnifying glass search bar, type in the name of a segment that should be included in the report run. The segment search functionality of Insights is predictive based on segment name, and will return results instantly as letters are typed. The more complete the entry, the more refined the results will be.
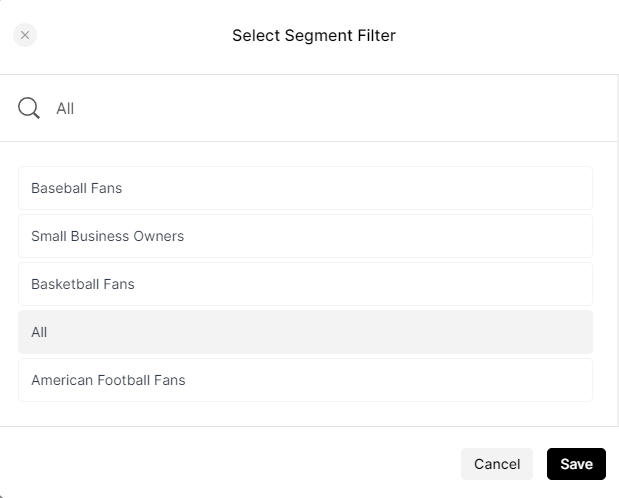
Predictive segment search results.
Scroll for an App
Deleting any entered text in the search bar will reveal all available segments for selection again. Use the scroll bar to find a segment of interest. When a segment of interest is found, click on that segment name to include it as the segment in the report run.
Segment Selection RestrictionsAt this time only one (1) segment can be selected per report run. Additionally, a report cannot be run if no segment is selected. For most report runs, where no segment is desired, please select the "All" devices option. Selecting "All" indicates that the report run should utilize all available reporting devices, and not subset to any specific set of devices.
For a list of all possible segments and/or more information about the creation of MMP Demographic segments, or the composition of AppGraph Ownership Personas, please reach out to your Account Team for more information.

"Run" capabilities disabled because no segment has yet been selected.

"Run" capabilities enabled because all filters have a selection designated.
Insights Report Set Up - Date Range Selection Filter
The Insights suite of analytic reports allows for full customization of the reporting date range when setting up a report run. The date range selection filter is split into two distinct pieces that work together to help intuitively set date range parameters for every report run. The two pieces of the date range filter are:
- Granularity
- Date Range
Granularity
The Granularity drop down works in conjunction with the Date Range picker to help isolate the appropriate dates for which to return data in each report. The date grain is a preset choice between one of three options:
- Days
- Weeks
- Months
Most Insights reports offer data as both an aggregate (or average) for the date range, as well as a time series graph, in which the data is graphically plotted across daily, weekly or monthly data points.
Date Grain ApplicationSelecting a date grain will specifically affect the presentation of any time series graphs on the report page, as well as the corresponding time series data table.
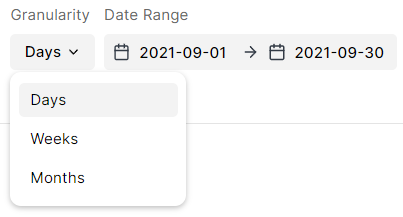
Example of both Date Grain selection and Date Range selection.
App Insights reports can return data for any available range of complete days, weeks, or months.
Historic Data AvailabilityHistoric data is available from July 1, 2021 forward. Ongoing data availability is on a 7-day lag. App Insights reports default to show the latest 7 days of available data. However, T-Ads will implement a 2 year data retention policy.
Range
The Date Range selection filter works in conjunction with date grain selection filter. The Date Range filter allows for selection of any dynamic start and end date by which to aggregate, average or trend data points.
There are two calendars to utilize in the range selection process, the beginning date of your range and the end date of your range.
Illogical & Allowable Date RangesThe range calendars will automatically grey out dates in either calendar that are not able to be selected. For example, if the beginning date of the selected range is Sept 10th, the calendar for the end date selection will not allow a date before Sept 10th to be picked. This mechanism prevents accidentally entering illogical date ranges during report set up.
Date range selection also cannot be made outside of the allowable ranges, which are bound by historic data availability and the ongoing finality of new data ingested.
Due to the dynamic nature of the Date Range selection filter, in cases where the range of dates selected does not exactly conform to the date grain selected, the report will auto-correct the range to match the grain.

Pop up notification that an entered date range has been automatically adjusted to fit the selected date grain.
For Example: A user selects a date range of 2021-09-10 to 2021-09-21.
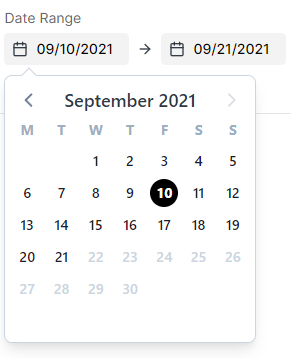
A dynamic, and arbitrary, date range selection.
The data reported back for this date range selection will be dependent on the date grain selected:
Daily
- All data points for all days selected, Sept 10 - Sept 21 inclusive, will be utilized in the return data.
Weekly
- The range will be automatically changed for you so that only full weeks (Monday - Sunday) are selected. In this example that would be data from the complete weeks of Sept 6 - Sept 12, Sept 13 - Sept 19, and Sept 20 - Sept 26.The automatic range adjustment always works to expand to include all possible full weeks based on your original arbitrary range selection.
Monthly
- The range will be automatically changed for you so that only full months (1st Day of Month - Last Day of Month) are selected. In this example that would be data from one complete month of Sept 1 - Sept 30.The automatic range adjustment always works to expand to include all possible full months based on your original arbitrary range selection.
Updated 10 months ago
